Apple Time Capsules

Time Capsule was Apple’s discontinued line of community backup merchandise. That is how you may use one on a contemporary community.
In 2008 Apple launched a product known as Time Capsule, which mixed a wi-fi AirPort Base Station and an inside onerous drive together with the macOS Time Machine backup software program.
Time Capsule acted as a Community Connected Storage (NAS) machine and allowed customers to each manually again up their knowledge through the use of a Time Capsule as a NAS quantity, in addition to through the use of the Time Machine app to automate backups.
Apple nonetheless ships Time Machine within the /Purposes folder with macOS, however it ended the Time Capsule line of merchandise in 2018 as extra generic and cheaper alternate options turned accessible.
There have been 5 fashions of Time Capsule initially, all with Wi-Fi and Ethernet connectivity. The primary 4 fashions had the identical kind issue as Apple’s line of AirPort Excessive Wi-Fi base stations, however the fifth Time Capsule mannequin had a small tower look to it with the onerous drive wedged vertically within the heart of the machine.
The ultimate mannequin included two attainable inside storage capacities: 2TB or 3TB.
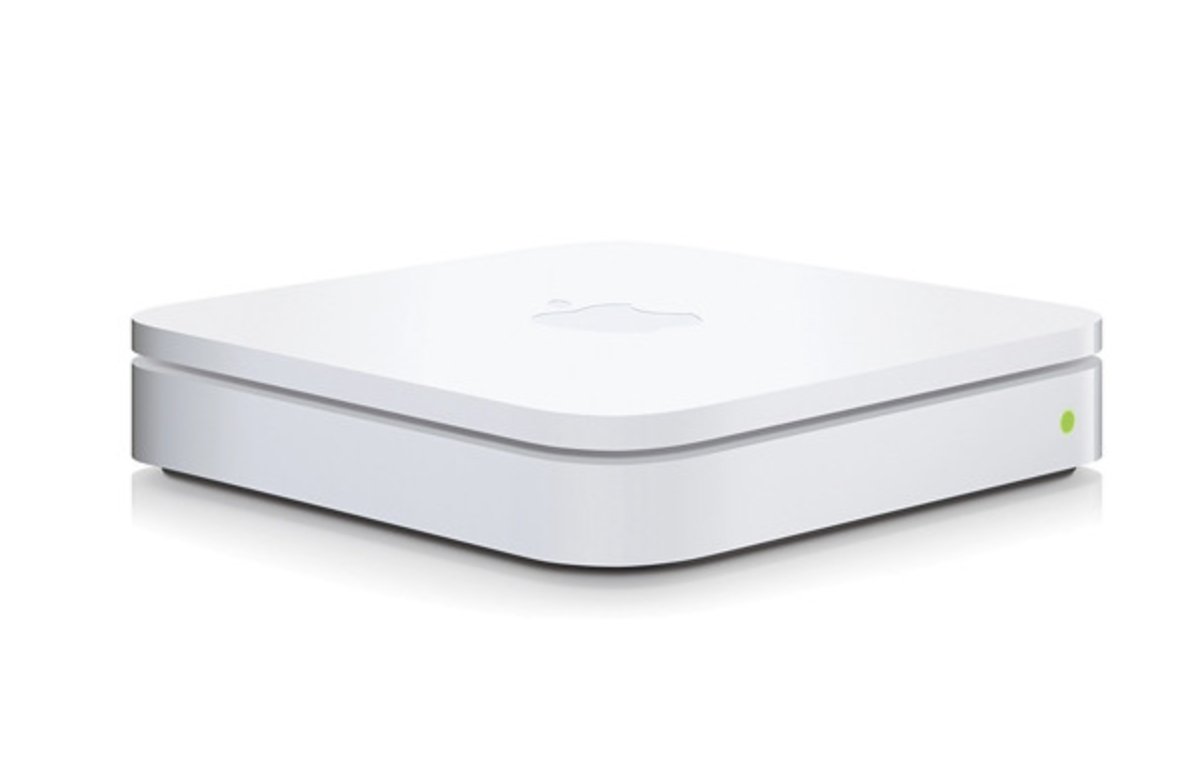
third technology AirPort Excessive.
Time Capsules at the moment
You possibly can nonetheless discover working Time Capsule units at the moment on the used market, together with on eBay, Amazon, and different on-line retail websites. In the event you select properly yow will discover an authentic mannequin for round $50 or much less.
These units nonetheless make good NAS backup units, so long as the info you need backed up does not exceed 2TB or 3TB.
See our different article on methods to refurbish a fifth-generation Time Capsule for contemporary use.
Connecting a Time Capsule to a contemporary community
To get a classic Time Capsule machine on a contemporary community you need to use both Wi-Fi or Ethernet, however we suggest Ethernet if attainable each for efficiency and reliability.
In the event you use a cable or DSL modem, you possibly can normally plug the Time Capsule’s WAN Ethernet port straight into your modem. Or you possibly can plug an Ethernet swap into your modem after which plug your Time Capsule into the swap.
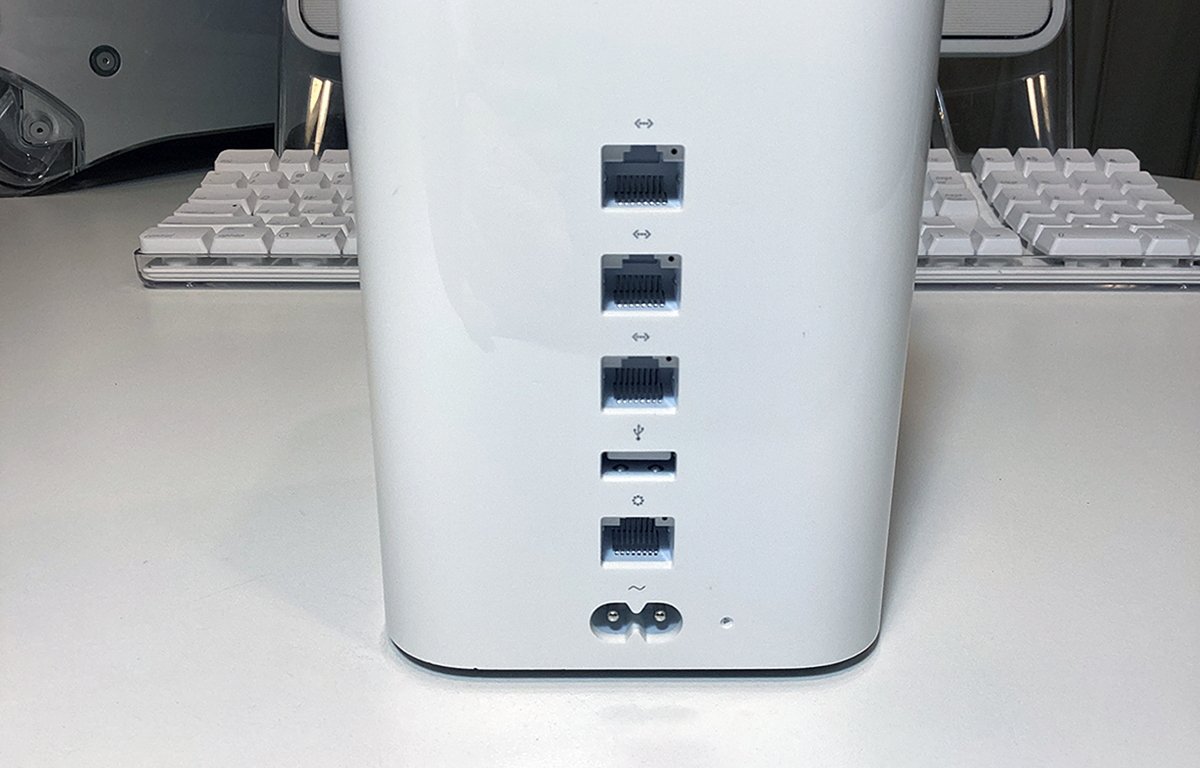
Time capsule rear ports. Observe the small reset button on the decrease proper.
Subsequent, plug in Time Capsule’s energy twine to an AC energy outlet to energy it on.
You may as well use macOS’s AirPort Utility app within the /Purposes/Utilities folder to attach your Time Capsule to a community over Wi-Fi or use it as a bridge to a different Wi-Fi community.
If you wish to restore your Time Capsule or replace its firmware it’s going to additionally want an web connection.
Resetting and restoring
You possibly can reset your Time Capsule’s software program to its manufacturing facility state by miserable the small recessed button on the again close to the facility port, however we can’t go into all of the reset particulars right here. We have lined each the reset and restore processes for Time Capsule in a earlier article so discuss with that dialogue for particulars on methods to reset or restore.
As soon as your Time Capsule is reset to its manufacturing facility situations, run macOS’s AirPort Utility, and Management-click in your Time Capsule when it seems within the utility app’s window:
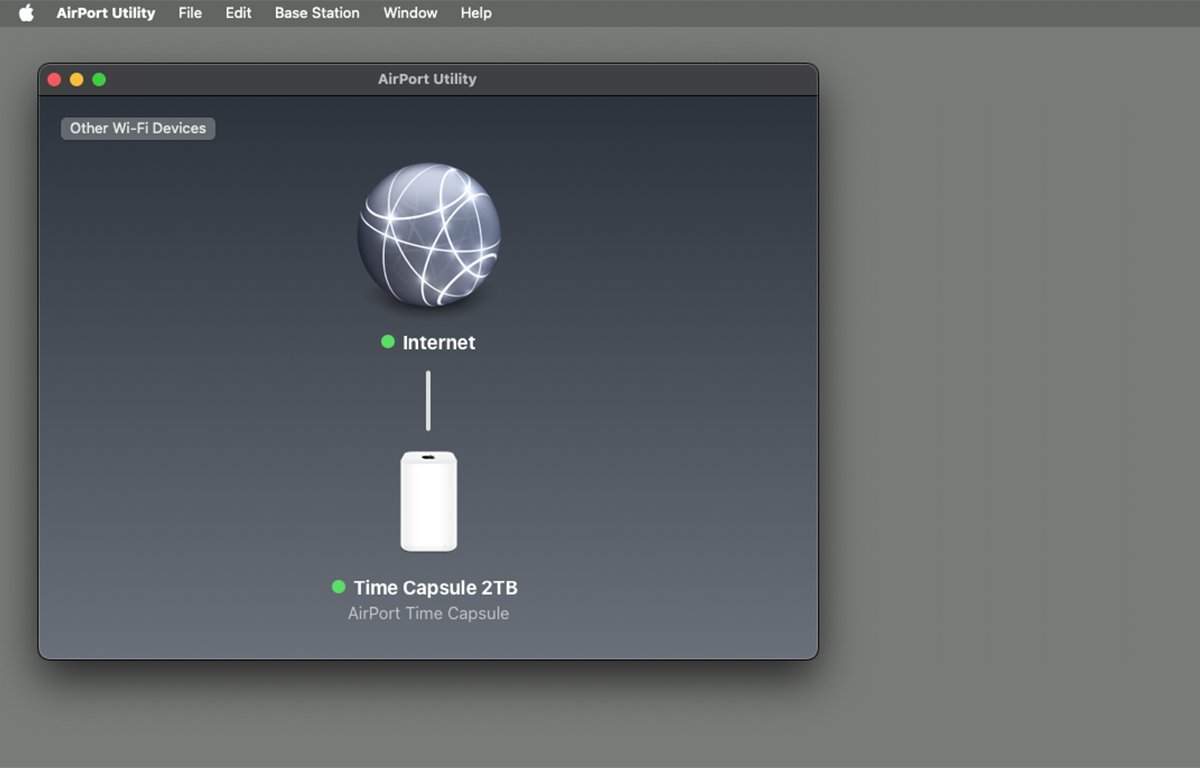
Setup full.
Within the popover that seems, you possibly can click on Edit after which set the machine’s community title, base station title, and login password.
You may as well use the AirPort Utility to erase and rename the Time Capsule’s inside onerous drive.
In case your Time Capsule is related to the web, AirPort Utility will even verify for a firmware replace from Apple, and if one is on the market immediate you to replace.
Go forward and replace the firmware, and the Time Capsule will restart after the firmware is up to date.
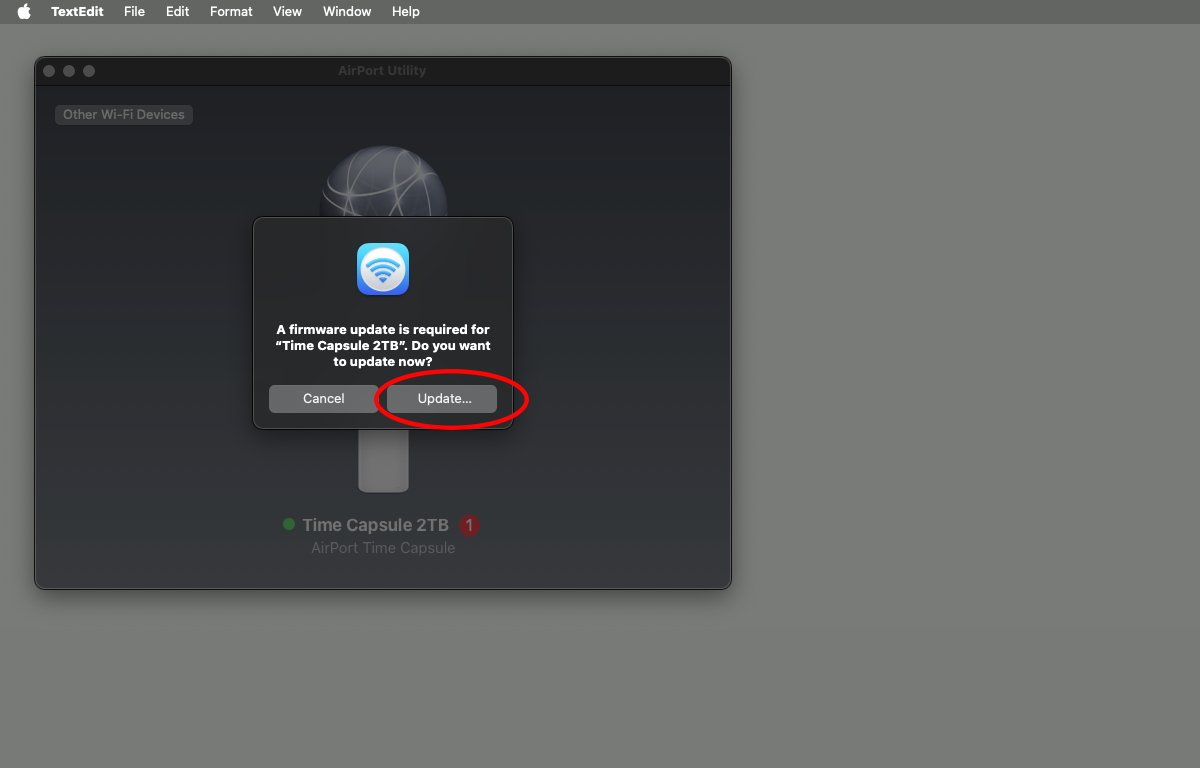
Replace the firmware, if wanted.
Backing up in Finder
To do a handbook file backup out of your Mac to your Time Capsule in macOS’s Finder, you may first have to mount your Time Capsule’s onerous drive on the Finder’s Desktop.
To take action, choose Go->Connect with Server from the Finder’s menu bar on the prime of the display screen. Click on the Browse button within the Join window and you may see your Time Capsule within the record of networked units:
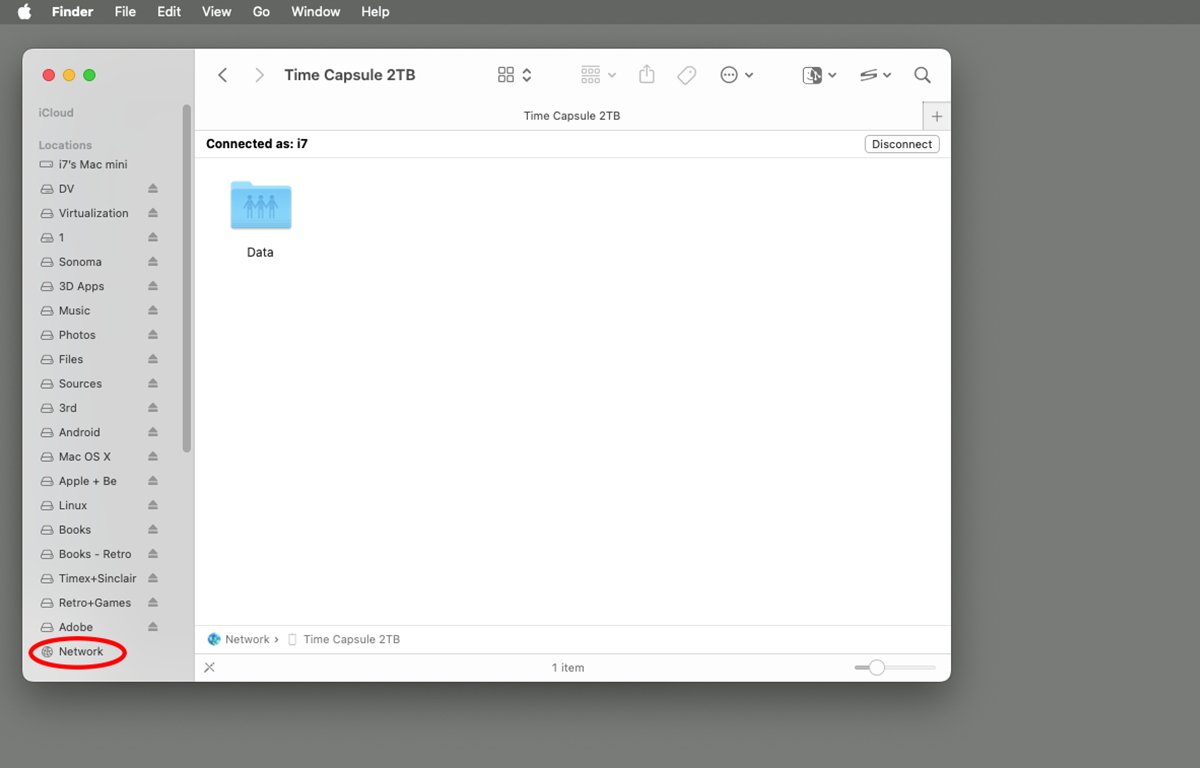
Connecting to your new Time Capsule.
Double-click the Time Capsule’s icon and you will be prompted to log in. Enter your title and password for the Time Capsule.
As soon as logged in, the Time Capsule’s onerous drive will mount on the Finder’s Desktop in your Mac simply as if it had been an area drive. Now you can double-click it on the Desktop and drag information and folders into and out of it simply as you’ll with some other drive.
As information and folders copy to or from the Time Capsule’s onerous drive you may see a Finder copy progress window simply as you’ll with some other disk copy.
As soon as completed you possibly can unmount the Time Capsule’s drive out of your Desktop on the Mac by Management-clicking or Proper-clicking it. Choose Eject from the popup menu to unmount the Time Capsule’s drive.
Add Time Capsule as a Time Machine disk
Alternatively, you need to use macOS’s Time Machine app to again up your knowledge to your Time Capsule.
Time Machine lives within the /Purposes folder in your Mac’s Startup Disk.
However earlier than you utilize Time Machine you may want so as to add your Time Capsule as a Time Machine backup disk.
To take action choose System Settings from the Apple menu in your Mac, then scroll down and choose the Normal tab in System Settings. Scroll down on the fitting and choose Time Machine to get to the Time Machine setup pane:

Choose Time Machine from the “Normal” tab.
On the fitting, click on the button Add Backup Disk. You may be prompted for a quantity to set as a Time Machine backup disk. Scroll to pick out your Time Capsule disk, then click on the Set Up Disk button.
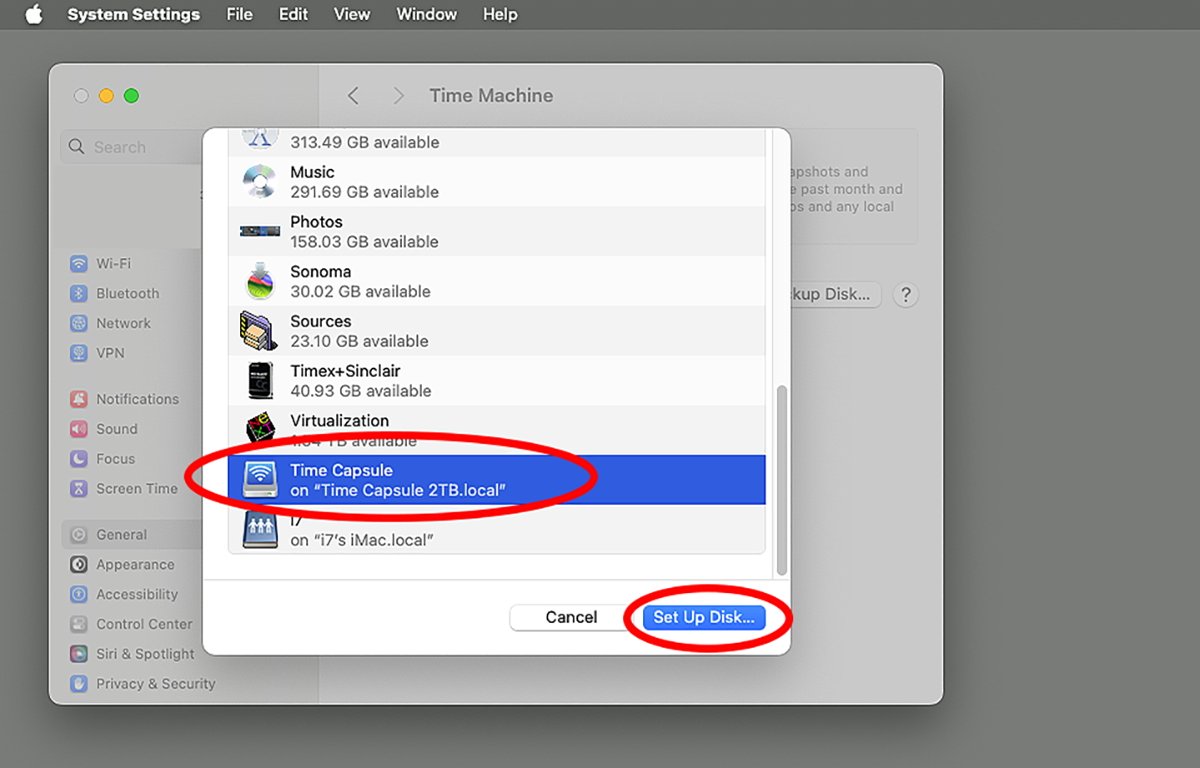
Add a Time Capsule disk.
You may get an alert asking if you wish to hook up with the Time Capsule machine. Click on Join.
In case your Time Capsule disk is not already mounted on the Finder’s Desktop you may be prompted for its login password. Enter the password and click on Join.
When you do the Time Capsule’s disk quantity will mount on the Desktop within the Finder.
If a brand new window seems, you possibly can choose the utmost house used for backups and select whether or not to encrypt backups. Click on Accomplished after choosing Settings.
You might or might not even be requested to Erase the Time Capsule disk. Accomplish that provided that it does not comprise any knowledge it’s essential protect.
In the event you had any earlier Time Machine backups set, you might be requested whether or not you need to declare these backups as a part of the brand new backup. In that case, declare the backups to merge them into the brand new backup.
In the event you select encryption for the brand new backup, you may be requested to enter a password for the encryption. Be sure you make a remark of the brand new password.
As soon as you’ve got set the Time Capsule quantity as the brand new backup goal, macOS will start making backups instantly.
Backing up with Time Machine
Time Machine gives an non-obligatory icon the macOS menu bar which you need to use to start out and cease backups.
To allow it, open System Settings->Management Middle and scroll right down to Time Machine. Click on the popup menu subsequent to Time Machine and set it to Present in Menu Bar.
The Time Machine icon will seem macOS’s menu bar as a small clock icon with arrows round it.
Clicking the Time Machine icon within the menu bar lets you monitor any backup in progress, skip the present backup, browse present backups, or open the Time Machine settings pane once more.
Apple has a web page detailing methods to add and setup a Time Machine backup together with methods to automate backups, and methods to use the Time Machine icon within the menu bar.
There is a Time Machine settings on Mac part within the macOS Consumer Information which particulars methods to make Time Machine settings on the Mac, in addition to methods to inform macOS which information and folders to backup. You possibly can select to again every thing up, or solely a subset of information and folders.
You may as well nonetheless obtain the Time Capsule Consumer Guides for third, fourth, and fifth-generation Time Capsules from the Apple Help web site on the Manuals web page.
Time Capsules are nonetheless a viable NAS backup answer and there are nonetheless lots of the units in good working order at the moment. They’re a simple strategy to do a fast community backup in your community with out an excessive amount of hassle or expense.